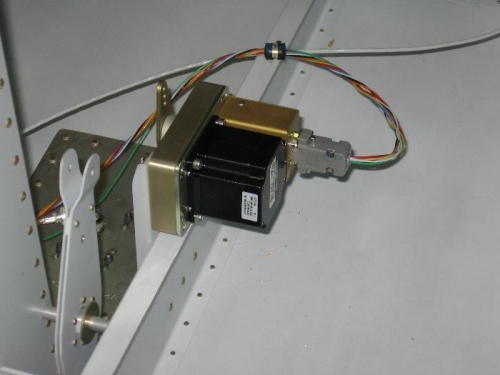
I received my Digiiflight 2 Autopilot order from Trutrack Flight Systems today. I started by cutting the opening in the instrument panel and mounting the autopilot control panel. Next I measured and drilled the holes in the subpanel for routing the pitot and static air pressure tubing for the autopilot. I also measured and drilled the subpanel for the holes for the pitot and static air pressure tubing as well as the electical harness for the EFIS display that will be installed just below the autopilot panel. I installed snap bushings in all the holes and installed the pitot/static tubing for the autopilot. With that complete I turned to the autopilot pitch servo. I bolted it in place and lockwired the attach bolts. To finish for the day I routed the pitch servo wiring to the servo, soldered the wires to the connector, installed the connector backshell and secured the connector to the servo.
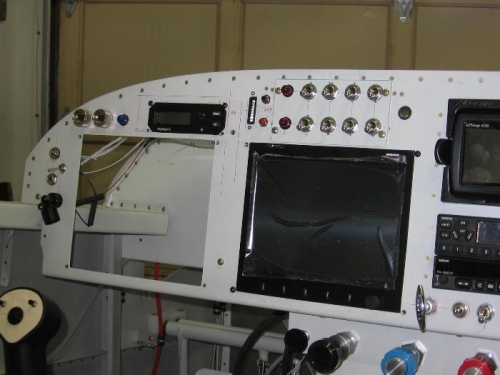
Autopilot control panel installed
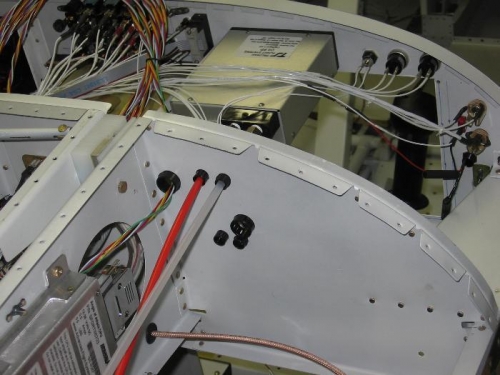
Autopilot pitot and static air pressure tubing installed